Musings of a Lady
Showing posts with label En fourreau. Show all posts
Friday, January 25, 2013
Le Modiste: Finally! My Enfourreau is done!
Hello everyone! Last fall I started working on an en fourreau or English back gown. The gown was draped and worked entirely by hand. Laugh-ou-loud - a friend of mine calls this my vegan dress since a machine was not used. I got to wear it to an event last Saturday and I have to say that I think I did a pretty good job. Whoa, was I being a little immodest here? Yep! :) I am really proud of this little ensemble. I am sorry I don't have more pictures, but the next time I wear it I will certainly make sure that I get more detailed shots. Oh, notice the shoes! I got my period mules from Burnley and Trowbridge (link will be provided below). The mules are soooooooo comfortable and beautifully made.
Next post: 1930's day dress
http://www.burnleyandtrowbridge.com/ They are an excellent family owned business that provides period sewing supplies, garments and other items to support historical re-enactment. They mostly focus on 18th century. Check them out!
Wednesday, November 21, 2012
Le Modiste: En Fourreau Part 3
Although I have not posted in a while, I have not been idle. The work on the Polonaise En Fourreau is continuing and I am nearly there. I know that not everyone likes to do 'hand sewing' and it can be tedious at times but when 'chunked' into a manageable timeframe it is doable. Firstly, I have no deadline on this dress so that removed a lot of pressure to be done by a certain time. Secondly, I decided it was a learning experience and I would just take my time. Thirdly, I do love hand sewing! With that said, it was totally fun working with two friends - one doing the coaching and the other also learning to drape a gown in situ.
Let's see where did I leave off? Ah! I was sewing down pleats and getting ready to put in the sleeves. Well, let's take a look the next steps I was able to get done in the process:
Now before I set in the sleeve I also had to attach the skirt fronts to the skirt back. Remember the skirt back is a part of the bodice. I left slits at the top of the seams to allow for access to my pockets. The skirt side back to front was pleated into the bodice and the bodice lining was placed over the pleats to sandwich the raw edges inside.
There was since of accomplishment when I put on my corset and my friends helped me into my dress, albeit not done but looking like a real dress! It was so cool! Yes, I have made gowns before but this was different, just different - hard to describe if you haven't made a dress without a pattern and all by hand. This is not for everyone of course, but if you ever get a chance to do it, go for it!
Next Steps - The shoulder straps to be pinned and sewn in place in situ. This will be followed up with pinning the sleeves on while the dress is on the body prior to sewing on to the bodice. Once that is done, I will need to finish the back neck edge, hem the skirt and then begin to make the matching petticoat. Almost there! :)
Let's see where did I leave off? Ah! I was sewing down pleats and getting ready to put in the sleeves. Well, let's take a look the next steps I was able to get done in the process:
| Fashion fabric and lining. |
| Right sides together the fashion fabric and one side of the lining are pinned and sewn together. |
| The lining not sewn into the previous seam is pinned to sandwich the raw edges inside b/w the fashion fabric and the lining. |
| Lining is whipped down. |
| The sleeve edges (FF and L) are turned in and whipped down. |
| Sleeve ready for setting. |
| Bodice with pleats done ready to be pleated to skirt. |
| Skirt pleated on to the bodice and lining folded and pinned in place |
| From the outside prior to sewing. |
Next Steps - The shoulder straps to be pinned and sewn in place in situ. This will be followed up with pinning the sleeves on while the dress is on the body prior to sewing on to the bodice. Once that is done, I will need to finish the back neck edge, hem the skirt and then begin to make the matching petticoat. Almost there! :)
Saturday, October 13, 2012
Le Modiste: En Fourreau Part 2
Hello! I have been making progress on the Polonaise en fourreau. What I am working on now is the back piece. The back is one piece of fabric that starts with a dart from the neck to waist (1/4" to 2") then pleated while on the body to create the shaped 'V' and then the inverted pleat at the 'tail-bone'. This was done with the fashion fabric. The lining is a rectangle cut the length of neck to waist and darted just the same but not pleated.
| The lining is folded and darted. It is then attached to the fashion fabric which is darted then pleated and pinned in place. |
| The pinned pleats - I ironed them to help me keep it even. |
| Detail of pleats pinned. |
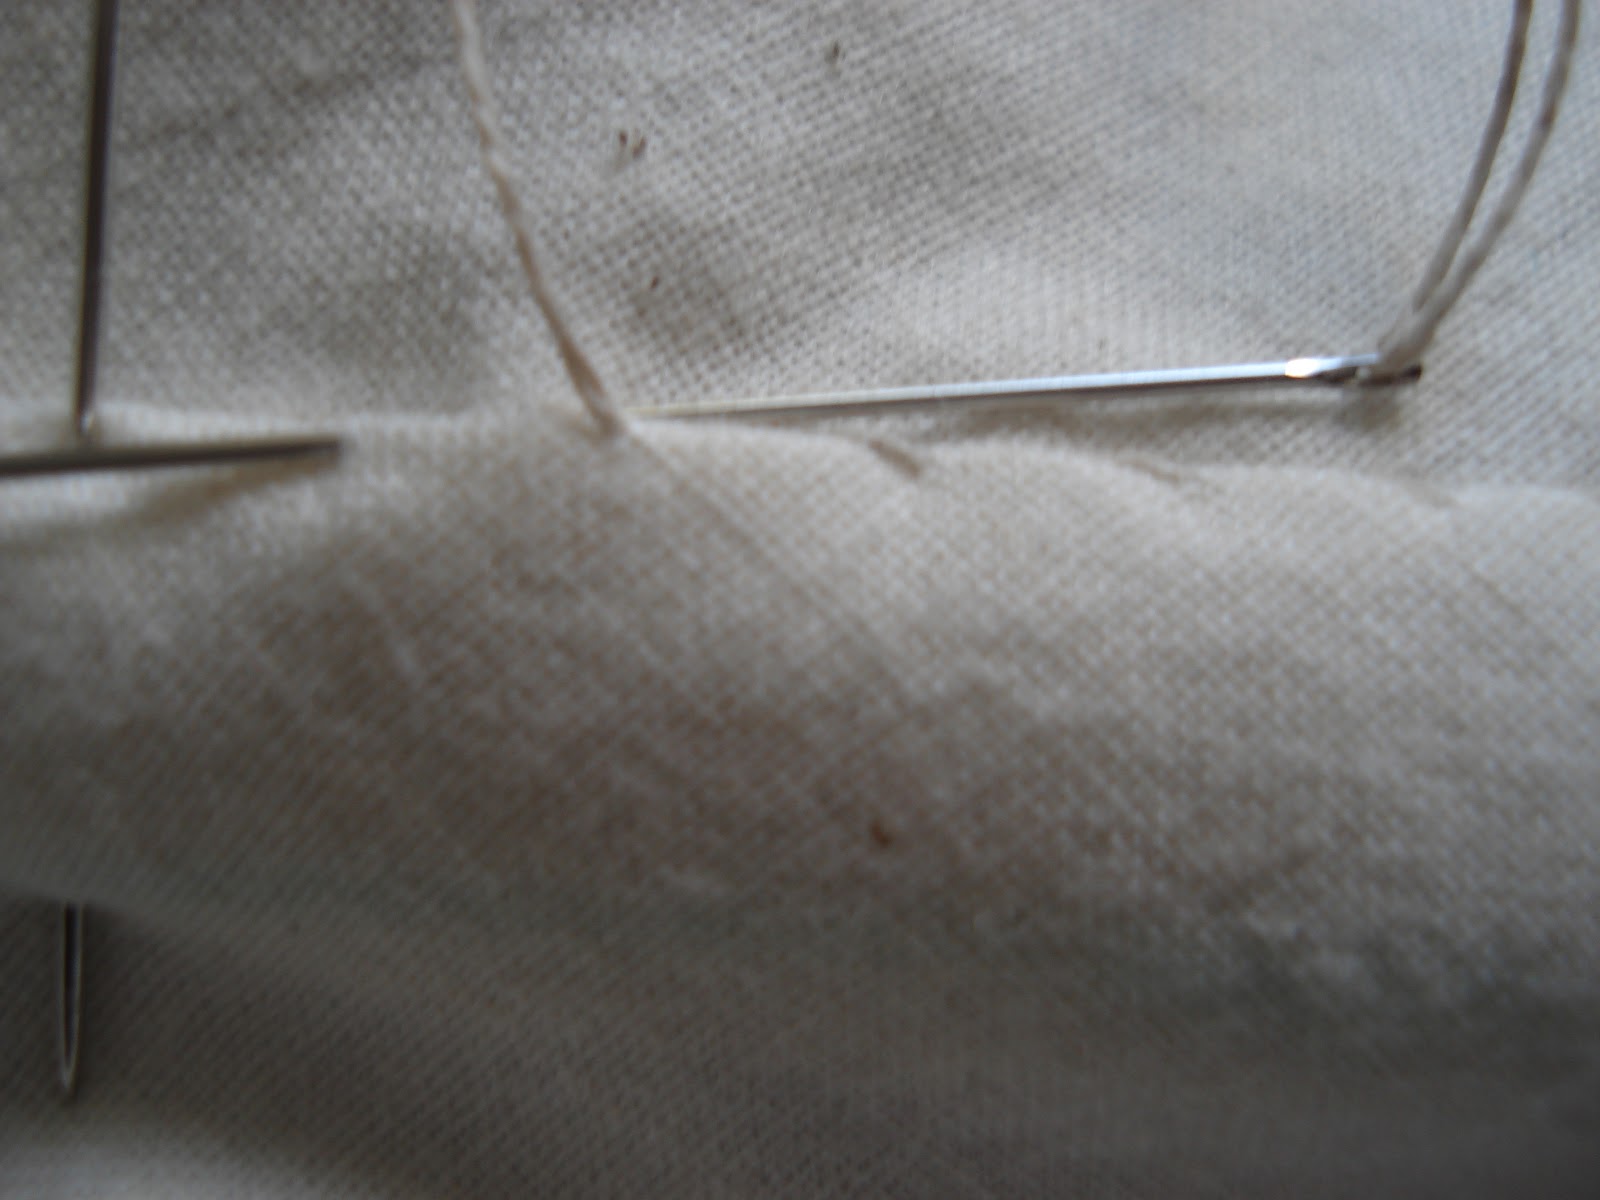
| Sewing through all layers I am using a Mantua stitch. I think mine are too close and tight. Not sure. |
| When you are done the inside looks like this. |
| Detail: The stitches. |
I am using linen thread. It is thicker than regular modern cotton covered poly threads we have now. This was borrowed from a friend till I can order what I need from Burnley and Trowbridge.
http://www.burnleyandtrowbridge.com/
Next up: Finish stitching down the pleats, then cut and put the sleeves together. The sleeves were draped on my arm - using an extra piece of lining fabric and I will use it as a pattern.
Monday, October 8, 2012
Le Modiste: En fourreau or English back - Part 1
![]() |
| 100% Linen, Indian Printed. Oatmeal ground. |
The first thing we did was to drape the front of the bodice over the corset. The front bodice piece includes the side back, so there is no side seam. Also, the center front is not cut on the straight which I found interesting as I was always taught to draft on the straight at the center front and back. With that said, the drape of the fabric does work with the conical shape the corset gives you and there is less to do to make the shape develop.
Once you have the piece cut, (which you can do in muslin which I chose to do instead of actually starting with the fashion fabric), the draped piece becomes the pattern for the both the lining and fashion fabric.
| The draped pattern piece. |
| Hand stitched the fashion fabric and the lining using a whip-stitch. |
| Whip-stitched the fashion fabric to the lining which was turned so the lining is offset from the edge. |
| Front pieces done except at the side back seam/shoulder/armhole - will be done later. |
The back piece was measured on the body by taking a length of fashion fabric and measuring from the back neck to the waist and wee bit below. I then created a dart down the center back starting at 1/4" and out to 2" at the waist using a back-stitch.
| Center back dart pinned. |
Sources:
- Costume Close-up: Clothing Construction and Pattern 1750-1790, Linda Baumgarten & John Watson with Florine Carr, Costume and Fashion Press QSMC.W 1999
- Seventeenth and Eighteenth-Century Fashion in Detail, Avril Hart and Susan North, Victoria & Albert Publishing, 1998.
- Cut of Women's Clothes, 1600-1930, Norah Waugh, Theatre Art Books, 1985
- Costume in Detail, Nancy Bradfield, Plays Inc., 1975
Next up: Drape and stitch the back pleats of the bodice-skirt. Also, drape the sleeves and make-up.
Subscribe to:
Posts (Atom)